Showing posts with label No Closet Left Untouched. Show all posts

Wednesday, August 10, 2011

Clothing Challenged

So on Monday I woke up with the Monday blues.  I didn't feel like doing anything.  Until I opened up the door to my storage room-- wow.  Talk about a mess.  Talk about a lot of useless stuff that we don't need.  I got busy, I managed to awkwardly drag out a few boxes, started reorganizing the kids clothes and set aside some stuff to sell.  Then I thought about the guest room closet-- It's my second closet.  I don't have enough room for all of my clothes in our bedroom closet so I use the downstairs one for the overflow.  Both are full-- way too full.  I was inspired.  The goal of the day-- go from two closets to one.  I was ruthless as I began the purge... and 2 hours later I was finished.  Then I started posting things on craigslist and 24 hours later I had made $175 bucks (and still have a few more sales pending).  I did sell a few other household things and kids items-- but most of it was from my clothes.

As I was cleaning things out-- feeling a little disgusted with myself at the size of my wardrobe-- I realized that I've had quite a few clothing challenges to deal with over the past 5 years.  Let me share some of them with you:

  • Having babies.  Need I say more?  Really, over the past 5 years I have been a size 10, a size 2, and every size in between.
  • I've needed clothes for every season-- rainy weather, cold weather, hot weather... the list goes on.
  • I've been a working mom-- with an office job that requires you to dress professionally.  And because I've been every size imaginable (and pregnant-- twice) this means I have a ridiculous amount of dress pants and skirts.  It's crazy.
  • I've been a nursing mom.  TMI?  Too late now!
  • I now cannot wear sleeveless tops and dresses, or even T-shirts with short sleeves, due to my shoulder injury.  I cannot even begin to tell you how difficult it is to shop for summer clothing with this to keep in mind... although I am getting more skillful in this area.
  • Lastly-- this is a big one-- I have a very real fear of becoming prematurely geriatric.
As you can see... shopping is serious business for me.  Sure doesn't help that I'm pretty cheap too :)

But after my latest clothing purge I have new rules.  The clothes I buy need to be multi-functional, non-geriatric, comfortable, have long-ish sleeves, and be good value, not just cheap.  So, with that said, let me show you the best purchase of the summer.  This shirt has long-ish sleeves, it's uber comfortable, the lightweight fabric makes it nice and cool for summer (hard to find in a shirt with sleeves!), it's not geriatric, it sneakily hides the after-effects of pregnancy, it can be casual (like when I'm wearing my summer staple-- cutoffs) and dressed up with cute jeans-- and it was good value-- Target for $19.99. 


And that my friends, was my first (possibly my last) fashion related post.
Hope you enjoyed it.

Tuesday, May 10, 2011

Another Closet Conquered

Operation "No Closet Left Untouched" continues to sweep through this house.  Next up on my list... Caleb closet.  His closet "before" wasn't messy, disorganized, or cluttered... it was pretty much empty.  So this time around I didn't need to do any sorting, purging, and organizing.  Instead I needed to put stuff in it!   I wanted to make Caleb's closet into a space where he could store and organize his toys in a fun, creative, and inviting way.  As the little lady of the house starts to move around I wanted to have a safe zone for Caleb to keep his lego, puzzles, cars, and playmobil.  In the next months it's so important to keep all the little stuff out of Emerson's reach... but I also didn't want Caleb to feel like his toys were off limits.  With that in mind, I decided to turn his closet into toy central for Caleb!  The process started a few weeks ago when I purchased this toy storage unit off of craigslist for $20.  It desperately needed some paint and a little loving.  All it took was some primer and white paint I already had in the garage to turn it into a cute toy storage unit for Caleb's toys.


When we showed Caleb his new toy storage system he was SO excited!  He ran all around the house grabbing his favorite toys and began to fill the drawers.  I decided to display some of his artwork in the closet-- it makes it look more fun.  He has created so many crafts and pictures over the past months-- and I can't keep them all.  Every piece of art he creates is displayed on the fridge for an appropriate amount of time, some are then tossed *gasp*, but the cutest ones are kept for his room.


There is one unfortunate drawback to this particular toy storage unit.  Can you guess what it is?  Well... let's just say that I like to use the top shelf of Caleb's closet to store things that are best kept out of his reach (ex.  annoying toys such as whistles and recorders and super messy craft supplies).  But it didn't take Caleb long to realize that his new storage unit had a bonus feature-- a built in step system that allows him to reach the top shelf very effectively :)  Time to find a new hiding place!!

Monday, April 04, 2011

Weekend Marathon

Happy Monday everyone!  This past weekend was awesome, even though it felt a bit like a marathon with running errands, fixing our broken dryer, craigslist pickups, family fun, and other goodness.  We had way too many projects on the go, but we had fun doing them.  Here's a recap.

Doug took Caleb to recycle our cans and bottles.  Caleb gets to keep the money if he helps out-- he usually stashes it in his piggy bank.  This time around Doug decided to give him some instant gratification and took him straight to Walmart where he was allowed to buy a new toy with his money.  Right off the bat Caleb saw a $79.99 lego set and knew it was the one.  I drink a lot of Coke zero... but not that much!  He was a bit brokenhearted when he realized that it was beyond his budget, but the $6.00 lego police car kit made him pretty happy in the end.
 

Just a typical Saturday at lunch time around our house.  Lunch time got even MORE interesting when I tripped and spilt and entire bowl of sweet potato baby food all over the table, floor, Caleb, his new lego pieces and instructions....

Speaking of baby food, Emerson is quite enjoying my homemade creations.  As of today, her repertoire consists of:

  • brown rice cereal-- tolerable
  • pears-- her fav-- she makes the "mmmmm" sound with every bite
  • apples-- yummy
  • sweet potatoes and yams-- tolerable.  Enjoyable when mixed with a bit of apple juice
  • avocado-- it's a good thing
  • peas-- repulsive, but we're working on it
  • carrots-- so so
  • prunes-- pretty good... and let's just say... necessary ;)
  • eating my bib?  I do it everyday


And, my closet craigslist fundraiser has now financed a closet organization project in Caleb's room.  I saw this ikea toy storage system for sale on craigslist for $20.  If you were to purchase the system brand new at Ikea (see here) you're looking at spending $129.  So Doug ran out to pick it up and we're going to paint it and turn it into a toy/clothes/games storage system for Caleb's closet.  This weekend my motto became... 'no closet left untouched'...


And... I had another project on the go.  Doug and I stayed up way too late working on a new upholstered headboard for our room.  It's not quite finished yet (Doug still need to makes the legs and we need to staple the cambric on the back) but it will soon be finished and installed... hopefully.

I thought I'd leave you with a teaser until it's finished and ready to have it's picture taken...

Thursday, March 31, 2011

Spring Cleaning: In the Closet

I have closet envy. I wish my closet was as neat and organized as Emerson's.  While I love my house, one of the downers is the fact that all of the closets are not very big.  The closet in our room is used only by me-- Doug prefers to fold and stash in a drawer rather than hang.  Even for just my clothes, the closet is bit on the small side.  And while I try my best to keep it neat and organized, it usually starts to looks like this.


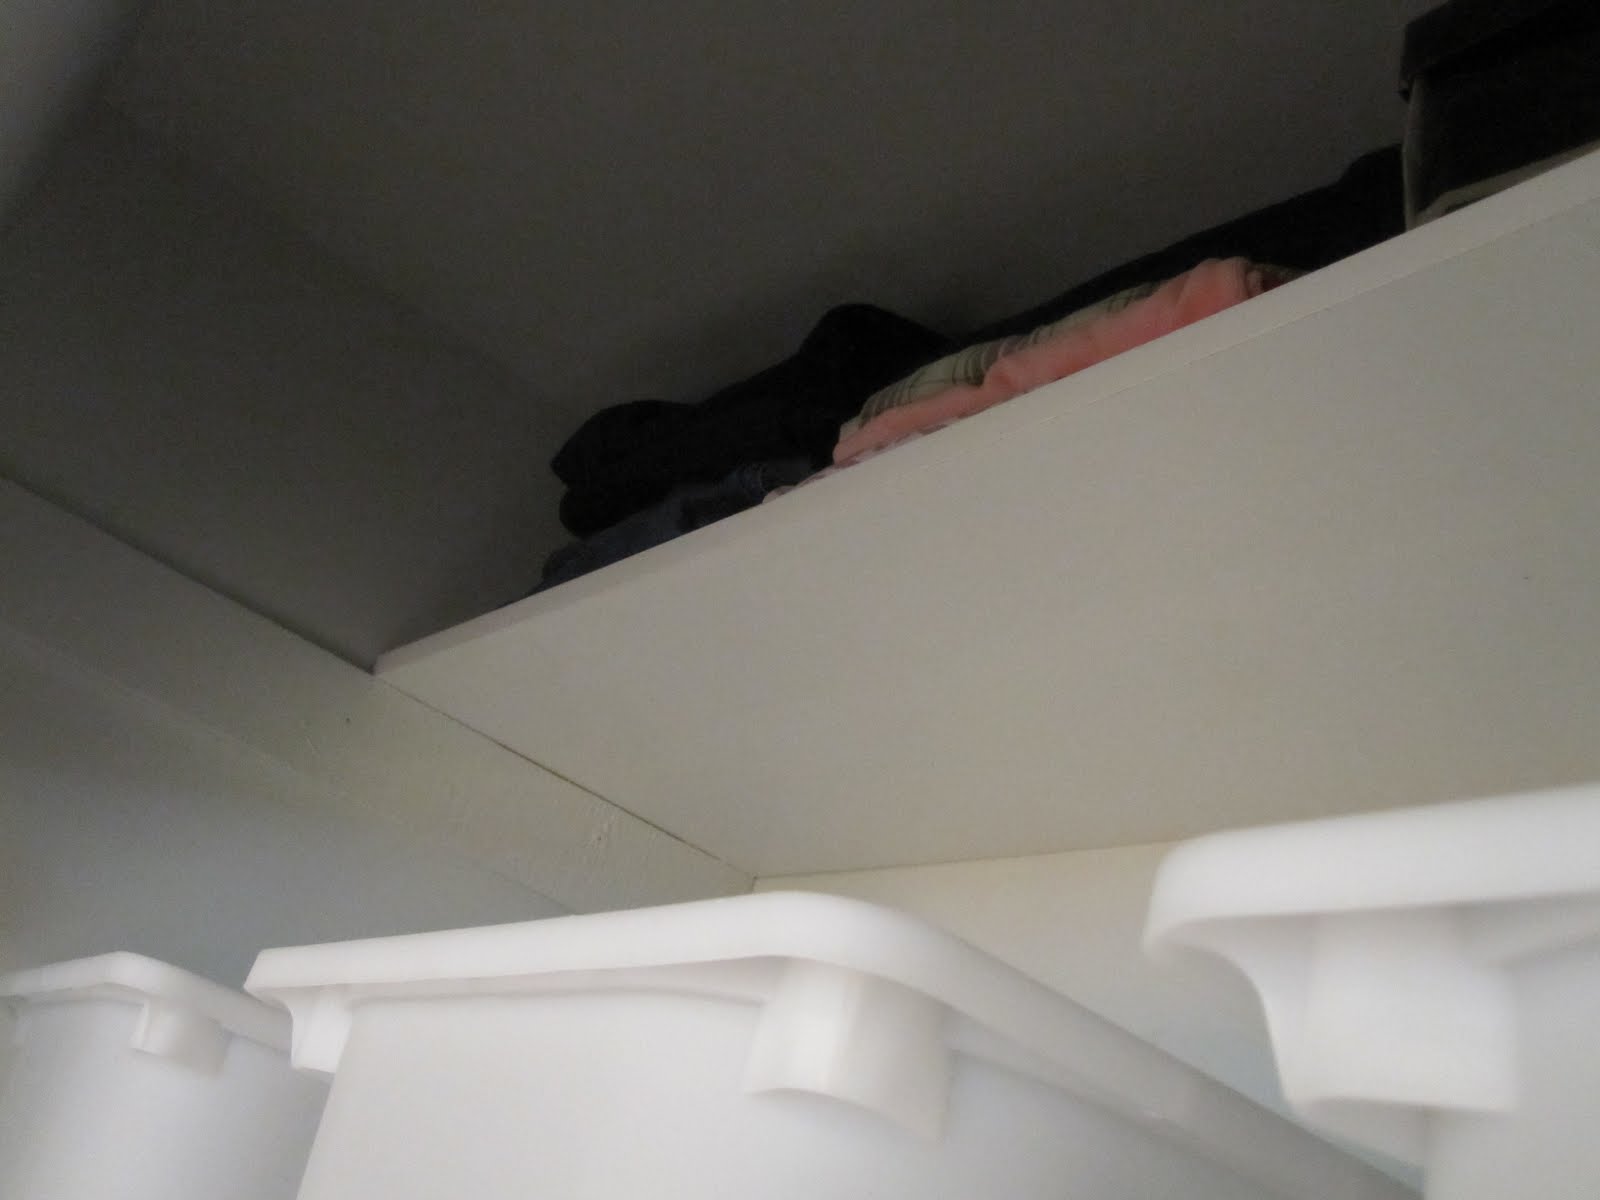
I actually have a quite legitimate reason for having a messy closet-- I have a hard time reaching the folded items on the top shelf since only one of my arms is useful above shoulder height.  So whenever I want to put a stack of folded clothes up on the shelf I have to put each item up one at a time with my right hand.  This is annoying, yes.  But not as annoying as when I try to take items down from shelf.  Say I want a pair of jeans that are on the bottom of the stack.  I try my best to one-handedly wiggle it out from the pile but alas, the entire pile usually ends up falling on top of me and all over the floor.  How's that for annoying!!!  So over the past few weeks, I've been brainstorming ways to temporarily make my closet a bit more user friendly.  I say temporary, because at some point down the road Doug would like to build some custom shelves and drawers in here.  But for now, I've come up with this...


So, instead of precarious piles I stashed all of my folded items in these bins I picked up at Ikea.  They are $4.00 a piece and are meant for toy storage so they're really sturdy and have a nice wide ledge around the top.  I sorted and purged my clothes, then categorized the folded items and stashed them in the bins.  Now when I need a pair of jeans, I just reach up and grab the 'jeans' bin with my one arm, find the pair I want, and put it back on the shelf!  I'm giving myself a one-armed pat on the back right now as I write this :)


My next brilliant idea occurred when I spotted an extra set of cleats at the very top of the closet.  When we moved in there was only one shelf at the top of the closet... but extra cleats at the top meant that I could add another shelf!  A loooong time ago I told Doug about my findings and asked if we had any extra lengths of melamine shelving in the garage that could be used to construct an additional shelf.  He said that there were a few options.  Conversation finished and forgotten.  Fast forward a few months.  Doug is folding laundry while I'm watching TV one evening (bless his soul :)  He starts trying to put stuff away in my closet-- disaster zone.  All of a sudden, without saying a word Doug's running down the stairs to the garage.  I hear the saw.  2 minutes later he's running back up the stairs with a piece of shelving and puts it in place.  Problem solved.  It really was that easy.


So now I have an extra shelf to stash out of season clothing and stuff that doesn't fit (I hold onto jeans of every size-- just in case).  This set of drawers has been in my closet for some time now.  We picked it up at MCC for $10 a few years ago, gave it a coat of white paint, added some new hardware and now it gives me a bit more storage in my crazy small closet.

The green boxes were a last minute addition... I stole them from the office to stash a few accessories.


And then I got all crazy and decided that the hangers should all match.  So anything that wasn't white is now in the guest room closet downstairs.  It's all about the details people.


As you all know, I care about the price tag.  So how much did this mini-closet makeover cost?

$16.00 for the four white storage bins
$0 for the extra shelf (scrap material from the garage)
$0 for the green boxes (already had them)
$0 for the white hangers
I'm not counting the dresser since I've had it forever.

Grand total?  $16.00.
Minimizing my frustration level?  Priceless.

Sidenote:  After purging the closet of clothes I no longer wear yesterday, I put up a few items for sale on craigslist.  I've already made $70.  So this closet makeover was actually a money maker :)

Sidenote #2:  Maybe I should have sold my old stuff before commencing with this closet makeover.... I would have had more to work with....

Monday, August 02, 2010

The Reveal begins...

As you all know, Doug and I have been slowly renovating our house... we've been at it for just over a year now. I've had many people ask me to post some pictures of the transformation... so here it goes! Instead of doing a huge post to show all of the changes, I thought I'd do it one room at a time. I've decided to do it this way for two reasons-- one-- they're all not finished yet (rooms in my house are ever evolving and changing as I dream up a new project) and two-- I really don't have the energy to clean the entire house, photograph it, then write about it :)

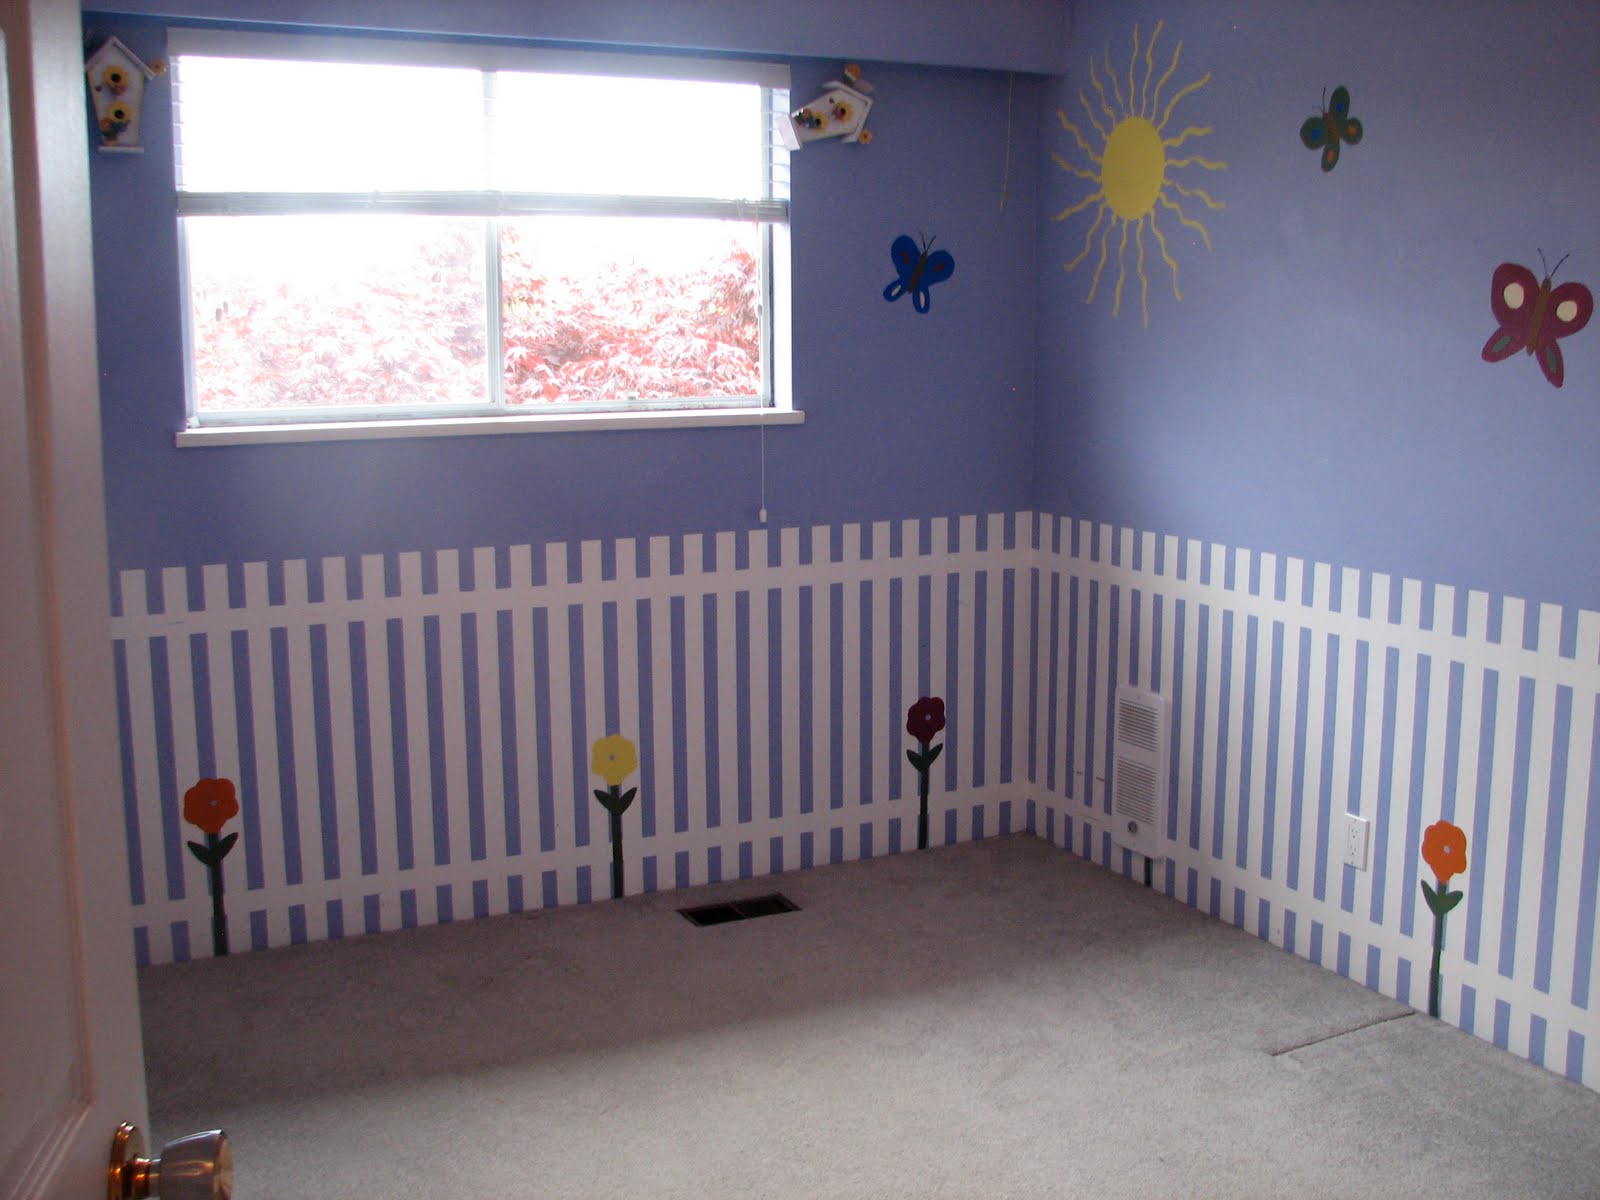
So... I figured it would be fitting to start with the nursery! Let me start by showing you what we had to work with. What a beauty, eh?  I'm sure this room was well loved by it's previous owner... but I had something a little more sophisticated in mind.
Nursery Room Before
The people who lived here before us had quite an obsession with colour-- bright colour, in every shade, and lots of it (stay tuned for more images of shocking paint jobs).  When we first moved in a year ago, we knew that we couldn't tear the entire house apart all at once since we didn't have the time or money.  But I could not live in a rainbow house.  So we primed everything twice, and then repainted the main floor.  It took a week.

The nursery was a special case.  Not only was it painted in a shade of purple I could not live with, but the picket fence/garden mural was painted on so thick that even after covering it with a different colour, you could still see and feel the picket fence.  Thankfully we had a friend who was willing to spend several hours in that room with a palm sander (Go Brent!!) to get rid of the sun/butterflies/birds applied to the top half of the room.  The picket fence would have taken months to sand down-- so instead we had to find a different solution!

Nursery after demolition-- oops!  Forgot to take the pictures down...
Doug installing the wall panelling late into the night!

Fast forward to the fall-- Doug and I have now torn up all of the flooring on the main level of our house. Remember this post?  After installing laminate throughout the main floor, we decided to tackle the MASSIVE job of re-doing all of the baseboards, casings, and crown moulding.  As we didn't take any time off from work to do this project, we ended up spending every evening and weekend working in our house together till 11 or 12 each night.  Doug was in charge of cutting and installing, I did all of the filling, sanding, and most of the painting.  Took us weeks... no... make that months.  Some of you may be wondering how our marriage has survived projects such as this, but we actually have a blast working together.  Those late nights were hilarious at times...  

To solve the picket fence dilemma-- we opted to install style and rail panelling to the bottom half of the room.  As we were finishing up the panelling in the room, we discovered that room would soon become a nursery.  We figured that the panelling would look great in a nursery, but decided to repaint the top half of the room a beautiful blue (the right blue can be gender neutral, eh?)  After spraying the the room and doing some repainting the picket fence was a thing of the past, and the room looked beautiful.  


To make the room more conducive to housing a small child, we decided to tackle yet another project in this room-- the closet!!  This room has the smallest closet in the house.  

Before shot of the closet

While babies have small clothes, they also come with lots of other stuff!  How I managed to store and organize all of Caleb's baby stuff in our tiny condo still remains a mystery-- actually, it was more of a miracle.  We didn't want to spend a lot of money on this project.  Actually, we didn't want to spend any money on it-- we're a little bit cheap at times (blame it on the Mennonite heritage:)  So, Doug creatively managed to find pretty much all of the materials needed to build custom closet shelving lying around in our garage.  We had ripped a few cupboards off of one wall in the kitchen, so Doug was able to re-use one of the tall pantry boxes for the closet.  After cutting it down a bit and making a few modifications he installed it in the closet along with a few more shelves he built out of scraps of material.  After a good paint job and some new closet rods-- project completed!  For less than 10 bucks (we had to pick up the parts for the closet rods) we put custom shelving in the closet.  Here's the finished project!!  Don't I have a wonderfully creative and handy husband?


So, that's the miraculous transformation of the nursery!  Keep in mind... this did not happen overnight.  All of the major grunt work happened last fall, while the organizing and decorating was finally finished recently.

If I had a few more dollars to my name, I may have made a few changes.  But in the end, creatively using what you already have and searching for good deals (and I mean REALLY good deals-- the as-is section in Ikea, MCC Thrift store finds, or clearance section in Home Sense kind of deals) is more fun in the end.  Once the baby arrives I'll make a few more adjustments depending on whether we have a boy or a girl.  But as of now, it's ready to go...