Alright. Let's talk about my kitchen.
Like I mentioned
a few days ago, my kitchen is finally finally done! And it only took a year and a half. But the end result is totally worth it, right??
Just to remind you of what it looked like before-- here's what my kitchen looked like when we first moved into this house. It had a lot of bright colours going on, but was still dark and dreary. It felt cramped, small, a tad depressing, and really didn't work for me :)
Fast forward 4 years, and here's what it looks like today. When I walk into my kitchen I can hardly believe it's the same room. Here's what it looks like now (when it's clean).
Now let's get into some of the details.
This was NOT a "go big or go home" kind of kitchen... but it also wasn't an extreme budget kitchen. We had one major, MAJOR factor working in our favour-- my husband builds and designs custom kitchens for a living. So... when it comes to the cabinetry, we got the best cabinetry possible and only paid for the materials since Doug was able to build it all with his own two hands. But even though we were able to get the cabinetry we wanted for a great deal, we still were very conscious of our budget. Here's a quick break down of the saves vs. the splurges in this kitchen:
SAVE:
kept existing appliances
kept existing layout-- for the most part
ikea faucet
inexpensive backsplash tile choice
used reclaimed wood for shelves
bought inexpensive knobs for cabinet doors
did ALL the work ourselves. ALL.
SPLURGE:
quartz countertops (BUT, were still a bit of a save... as you'll soon find out!!)
expensive (and beautiful) bin pulls on all drawers
Closed up an existing window and made another one taller
Removed bulkhead
Okay. So that was the summary. Here are the details.
To save money, we didn't remove the wall that separates the kitchen from the living room. People renovating with a similar floor plan typically do this, but it would have required considerably more time and cash-- two things we sure don't have a lot of these days!! I still wanted that space to feel unique, so we added some open shelves between the upper cabinets to display some pretty stuff and tiled all the way up to the ceiling. The lower cabinets are the same depth as the upper cabinets which keeps the room feeling spacious but still gives us added storage and counter space.


This next area of the kitchen required the most amount of work. When we moved in there used to be a floor to ceiling window right where those open shelves are located. While I loved all the natural light the window gave, the kitchen really really needed more counter space and more room for drawers! Previously I had 3 really teeny tiny drawers-- now I have these 6 big ones plus three more on the other side of the sink. And I can't tell you how much of a difference the extra three feet of counter space makes when I'm working in the kitchen with all my little "helpers". It really makes this room so much more functional.
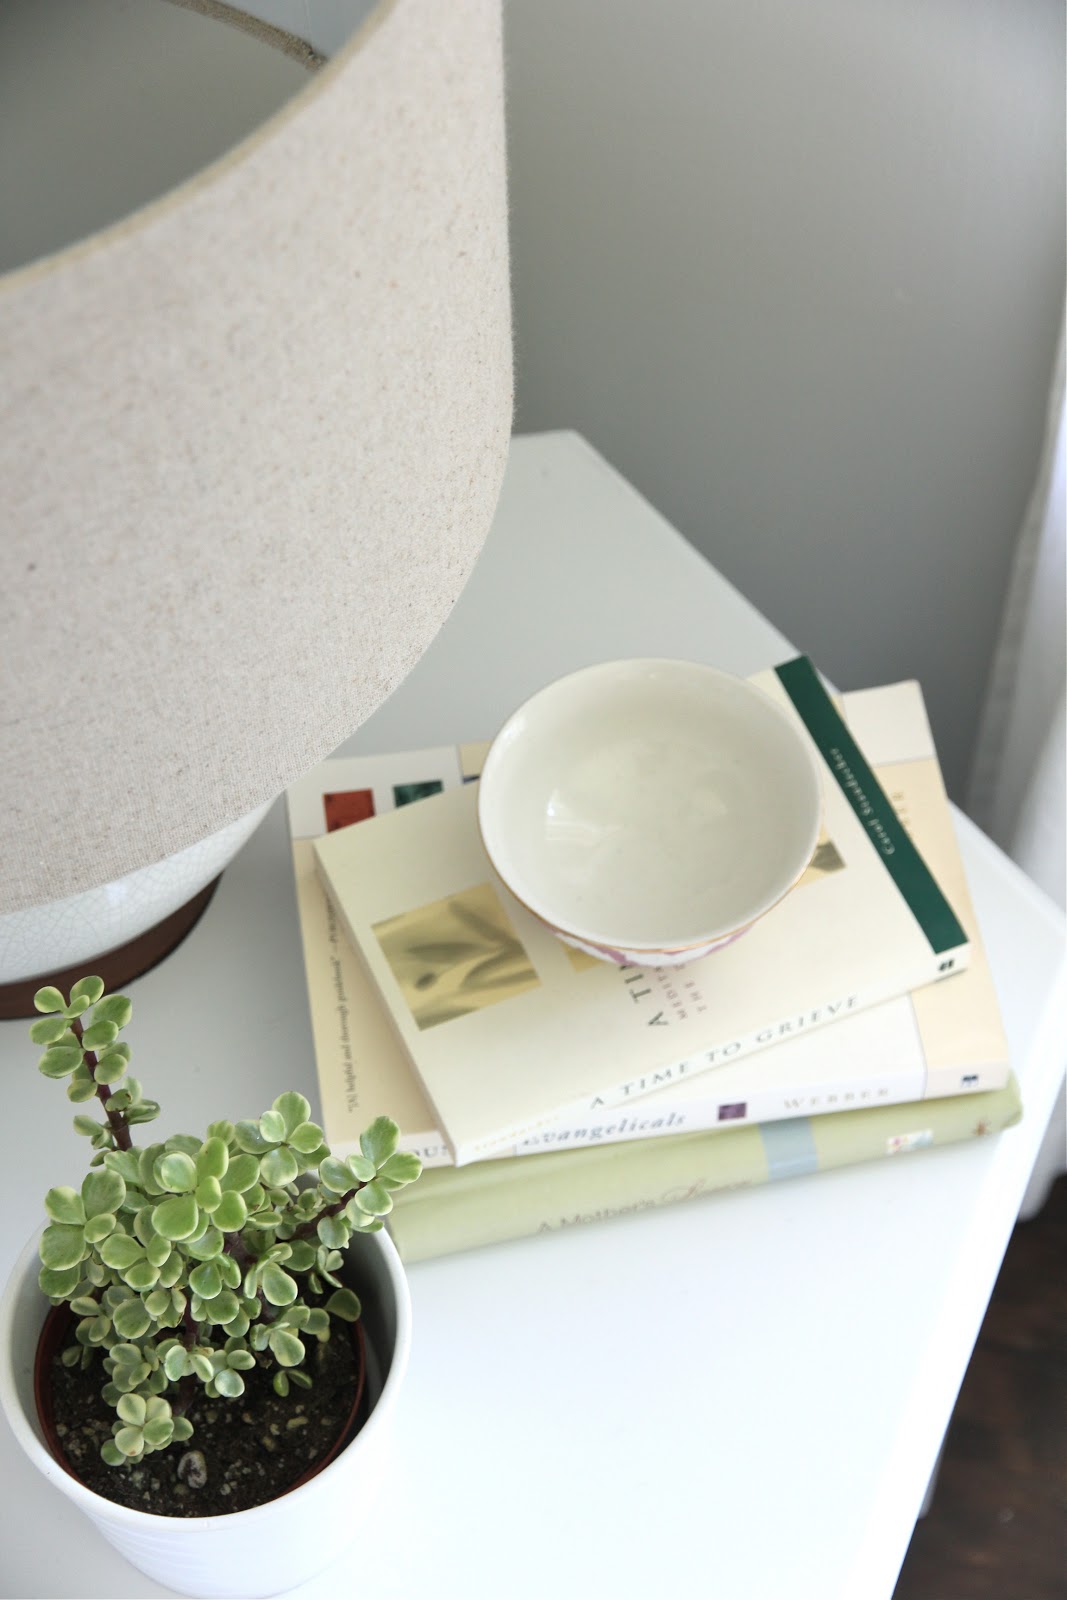
While this spot of the kitchen is definitely more functional, I also wanted it to be pretty. Isn't that what we all want? A kitchen that's both functional and pretty?? So... bring on more open shelves! My kitchen is a very white-- and I love it-- but to keep it from feeling too cold and clinical I added some natural wood. These natural wood shelves turned out to be my absolute most favourite part of the kitchen. They turned out way better than I ever thought they would. They were also a money saving solution-- the wood was free as it was just sitting around the shop taking up space and we didn't have to pay to have them sprayed like other finished parts.
These shelves hold all of my everyday dishes and glassware. It's the perfect spot-- I unload my dishwasher right up onto those shelves-- no opening cabinet doors and moving things around-- everything gets stacked right up on these shelves and is used every, every day.
I've had a lot of people email asking about our countertops. Even though I love marble, I knew that it could be a risky choice for my kitchen since we cook and live in this room all day long. So, I decided to go for quartz since it's a much more durable option. I was going to go with Misty Carrera by Caesarstone, but in the 11th hour I discovered that the countertop company we were going to work with sold a generic brand of quartz that had a colour that I liked even better than Caesarstone's Misty Carrera. The spots and colour variation is more subtle than the Misty Carrera and is a tad less "grey". And the best part was it was 40% cheaper than the Caesarstone option. Pretty much a no brainer if you as me!

Others have asked about our cabinetry hardware. The bin pulls on all of the drawers are from Restoration Hardware and were a splurge. To save a bit of money I ordered knobs in the same finish (polished nickel) from an online supplier that were considerably cheaper than the matching ones from RH. And, I really really love them.
Our faucet was a major save-- Ikea. $79. And I was like... WHAT!!? Seriously. It has the look I wanted and for $79?? Again, a total no brainer if you ask me! I love the handles-- they have a vintage vibe that I totally love.
And the backsplash. We saved money using a standard 3x6 white subway tile from Home Depot. Even though our backsplash tile choice was cheap, it's still a classic look and I really love the way it looks all the way up to to the ceiling behind the open shelves, and around the kitchen window. I also really love the light grey grout we selected. It is subtle, but really makes the tile a feature in the kitchen.
Next week I'll do a special post listing the sources. I bet you can't wait!! If anyone has a specific question they want answered leave one in the comments or feel free to email me directly.
To conclude, I'm just going to brag about my hubby for a minute. Doug designed/built/installed this kitchen with his own two hands. ALL OF IT. I knew he was good at what he does-- but even I was amazed at how GOOD he is at building kitchens... and how GOOD he is at all the little details that most people miss and don't notice. I could explain my vision to him knowing that he would and could create exactly what I dreamed up. Every little detail is perfect. Exceptional. Every day I walk into my kitchen and I can't believe Doug made it. What would I do without him!!
So, if you live in the lower mainland and are looking for a cabinetry guy-- I know a really really good one!! Shoot me an email if you want some info.
And, that concludes the long awaited (almost thought it was never going to end) kitchen renovation. I love it. Hope you do too :)
ps: sorry 'bout the amateur photos-- still learning!
pps: don't you just love how those pink peonies made it into almost every shot??
ppps: pink peonies are my absolute favourite flower. And a bundle for $5? Score.
pppps: wish I could have each and every one of you over for an awesome party so we could enjoy this kitchen for reals!!